home about portfolio shop decorating services contact

Monday, August 8, 2011

Good Design Finnish Style

There are many lessons one could learn from the design of this small Finnish apartment. How to  -
  • design on a budget,
  • be minimalistic, 
  • incorporate pops of color, 
  • create a wall of inexpensive artwork,
  • create a kid-friendly space,
  • use mismatched furniture in decor, 
  • make a small space look larger,
  • set up visible, organized storage.
Take a look..

Open plan dining, living, kitchen. Love the mismatched chairs.
helsinki fine finnish dining chairs

Origami, a bird and a bunch of straws.
helsinki fine finnish oragami

Basic black-and-white theme allows the use of a pop of color (small doses) here and there...blue-and-white patterned rug and blue-tipped chair legs.
helsinki fine finnish white chairhelsinki fine finnish chair rug

helsinki fine finnish doorway

helsinki fine finnish tricycle

For an organized look, books and DVDs stacked by color and size.
helsinki fine finnish bookshelf

Magazine pages and postcards taped to the wall serve as inexpensive, easily-changeable artwork.
helsinki fine finnish notecards

helsinki fine finnish record player

Design with kids in mind.
helsinki fine finnish flags

helsinki fine finnish bedroom pillows

helsinki fine finnish windowsill
Gleaming white floors help light reflect creating an illusion of a larger space.
helsinki fine finnish floor

Black contact paper on cabinet front.
helsinki fine finnish drawer detail

Neat light fixture
helsinki fine finnish dining room
Aall images via Dwell photos Petra Bindel

Overall a welcoming, family friendly, cheerful, unique space with a ton of  charm. My favorite element would be the taped artwork and the simple but interestingly effective ceiling light fixture. Do you like the style of this apartment?

I would love for you to leave a comment. Thank you for stopping by; please do check back often.
Lisa


Saturday, August 6, 2011

No-Sew Pillow Covers Update

Continuing on from Thursday's post about my no-sew throw pillow covers... I had decided to add ties to the opening of the covers. I found this very pretty ribbon at Michaels and as it had a blue/green polka dotted pattern I thought it would be fun to add it to the mix of patterns on the covers.
I could use this to make simple ties.

I cut 8" strips (this would give me something substantial to tie with). I proceeded to adhere them with some Fabric Fusion again...no fuss, no sophisticated method..very straightforward. I did one in the middle and one about 3" in from each end so three strips on each side making it a total of six for each cover.

These were held in place by my always-at-hand, ever-reliant weighty assistants...Off! and Mod Podge..


And once they were completely dry I inserted the pillows into the covers and then double-knotted the ties. It is fine (for me personally) if there is a little gaping but that is a personal preference. One might choose to make the strips shorter or to add another pair or more ties to completely secure the pillow.

I am going to live with these ties as they are for a bit...


...I might cut them shorter, I might secure the glued inside ends further with some passementerie and add a little embellishment to the outer exposed edges. For today, they look good and are functional. An easy project, don't you think?


I would love for you to leave a comment. Thank you for stopping by; please do check back often.
Lisa

Thursday, August 4, 2011

No-Sew Throw Pillow Covers

A few months ago I purchased a selection of napkins from World Market online (unfortunately no stores in the NY/NJ/CT area, from what I can tell). I love the colors in them (the blue-green combination) as well as the block print-like pattern and the ric-rac trim. I knew I would use them at some point in some capacity.

I wanted to add more throw pillow covers to my ever-growing collection and needed something different in the family room so I decided I to put some Fabric Fusion to work with the napkins. Also, these colors would work perfectly in the room.

I had purchased two different patterns (small and large) in this blue and green combination so I decided to combine one of each to create the cover.


I washed the napkins and did a light (as is apparent) ironing first. Next I determined which way I wanted the patterns to face when the pillow is turned around and where the opening would be. I then placed one napkin over the other (different pattern) as shown below, aligning them as best I could, right sides facing out (as you would if you were going to insert the pillow). 

I applied the Fabric Fusion to the hemmed portion of the lower piece.


I repeated this on three sides. Remember, these are homemade and no-sew and may not necessarily - in my case did not abolutely have to - align perfectly. This is a small section of the cover after Fabric Fusion was applied.

Once dried (after time indicated on bottle), this is what the seam looked like on the whole.


I think it looks pretty good!

Well, as you might have guessed, my work is not done. This is what I shall be working on today - the opening.

Old pillow peeking through

I considered different options and then decided on ties. These were so easy to put together thus far. I shall hopefully be able to share the completed covers with you tomorrow.
I would love for you to leave a comment. Thank you for stopping by; please do check back often.
Lisa

Tuesday, August 2, 2011

Creativity by artful home

There is no limit to creativity as is apparent from these stunning pieces from artful home.

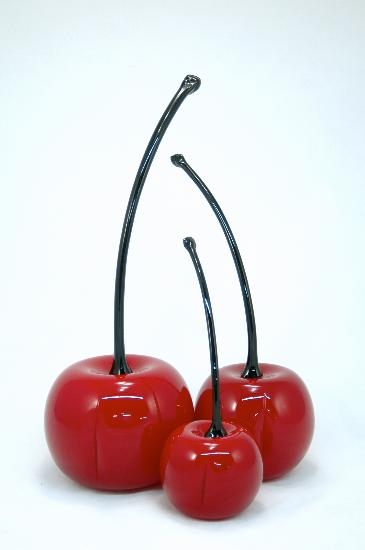
Red Cherries - Art Glass Sculpture - by Donald Carlson
Red Cherries by Donald Carlson


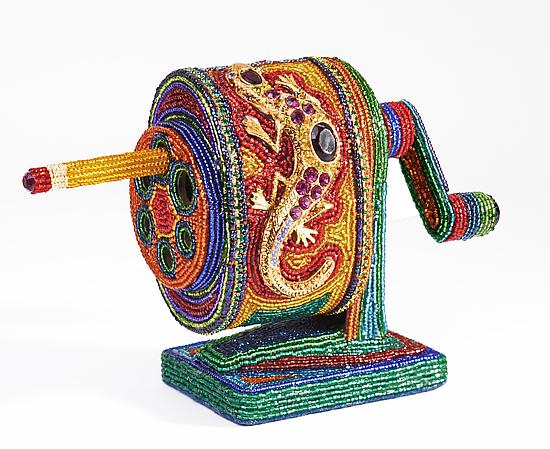
Pencil Sharpener - Beaded Sculpture - by Kathy Wegman and Tom Wegman
Pencil Sharpener by Kathy & Tom Wegman


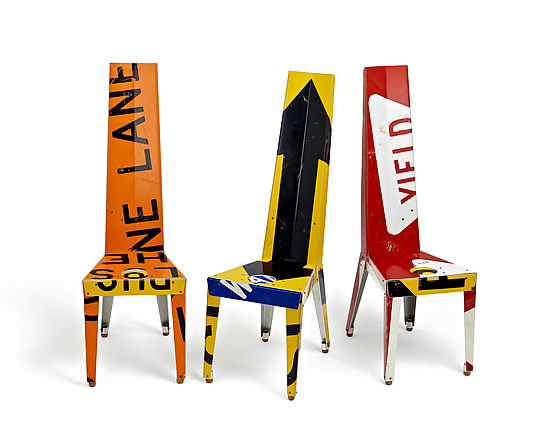
Transit Chair - Recycled Metal Chair - by Boris Bally
Transit Chair by Boris Bally


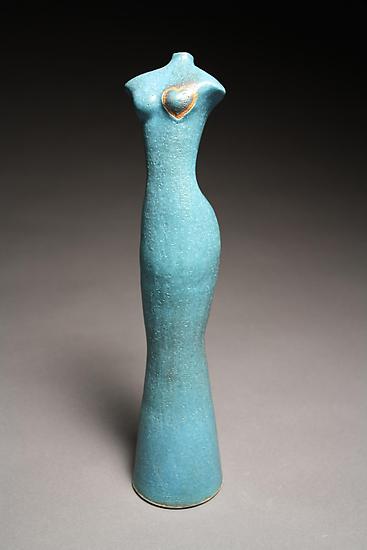
All Things Near and Dear - Ceramic Sculpture - by Cathy Broski
All Things Near & Dear by Cathy  Broski


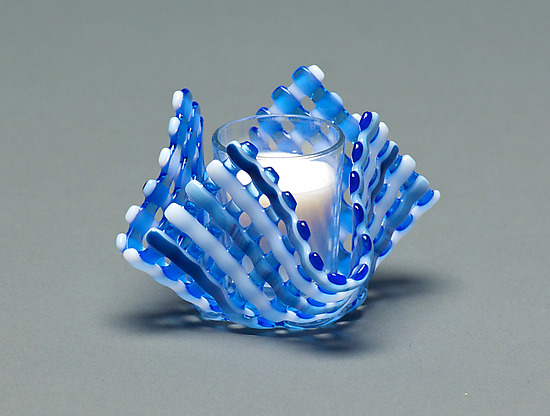
Glass Candleholder: Blue Stripe - Art Glass Candleholder - by Ed Edwards


Water Fountain - Color Photograph - by George Diebold
Water Fountain by George Diebold


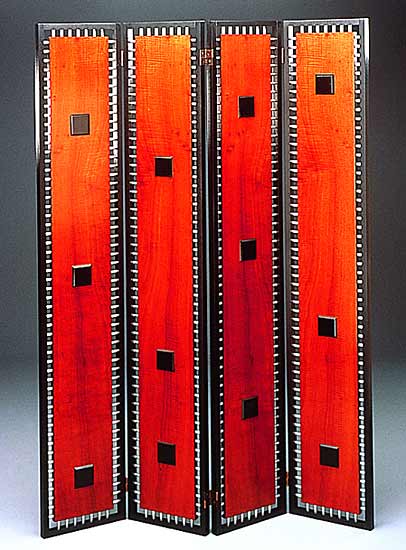
Screen - Wood Screen - by David Kiernan
Screen by David Kiernan


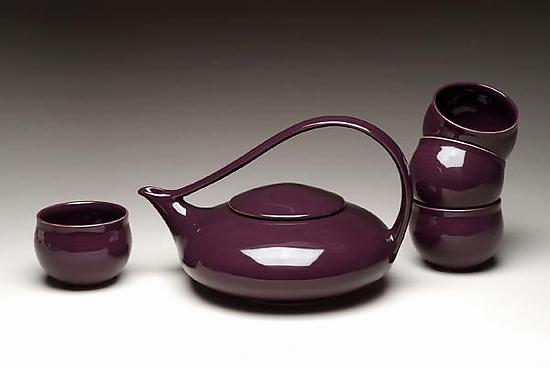
Eggplant Classic Tea - Ceramic Teapot & Cups - by Judith Weber
Eggplant Classic Tea by Judith Weber


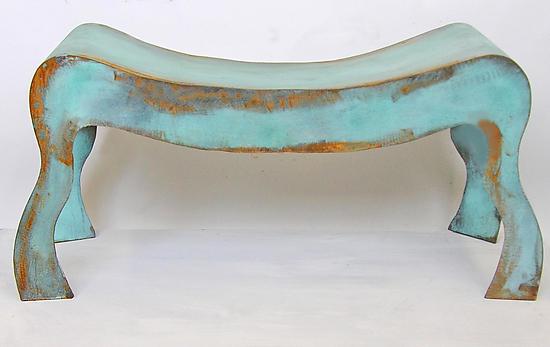
Blue Patina Bench - Steel Bench - by David Coddaire
Blue Patina Bench by David Coddaire


Forsythia - Giclee Print - by Nancy Herman
"Forsythia" Giclee Print by Nancy Herman


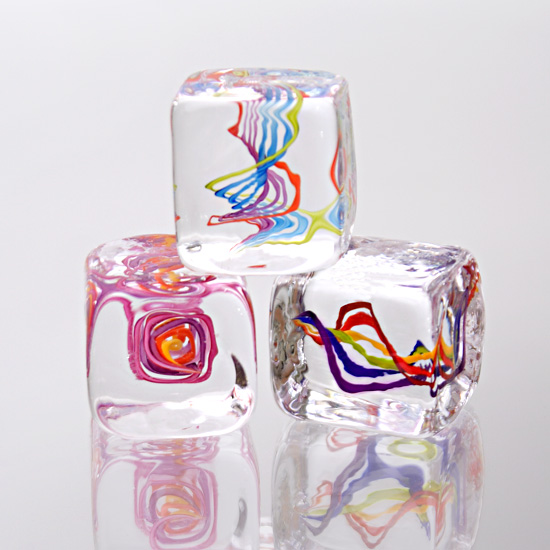
Squarbles - Art Glass Paperweights - by Nicholas Kekic

Linear Collection, III - Giclee Print - by Melissa Leaym-Fernandez
Linear Collection III by Melissa Leaym-Fernandez


Jessie Coffee Table - Concrete, Art Glass & Wood Coffee Table - by Terence S. Dubreuil
Jessie Coffee Table by Terence S. Dubreuil


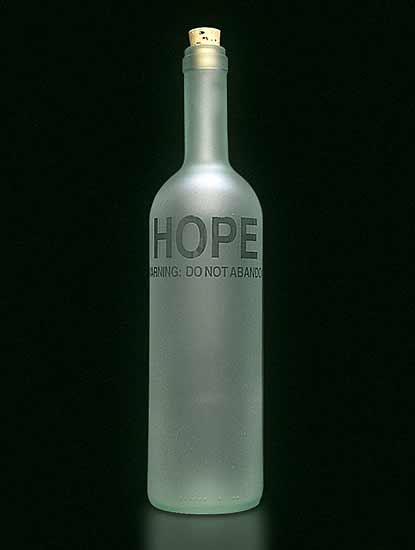
Poet's Bottle: Hope - Glass Bottle - by Jeff Crandall
Poet's Bottle: Hope by Jeff Crandall

Prosperity Bowl (#8) - Ceramic Bowl - by Cheryl Williams
Prosperity Bowl (#8) by Cheryl Williams

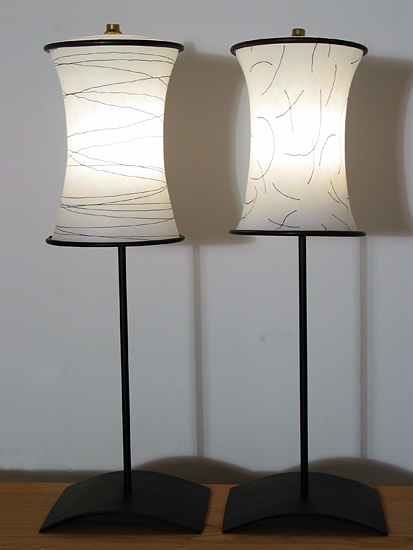
Tall Table Lamp - Glass & Metal Lamp - by David Leppla and Melanie Guernsey-Leppla
Tall Table Lamp by David Leppla & Melanie Guernsey-Leppla


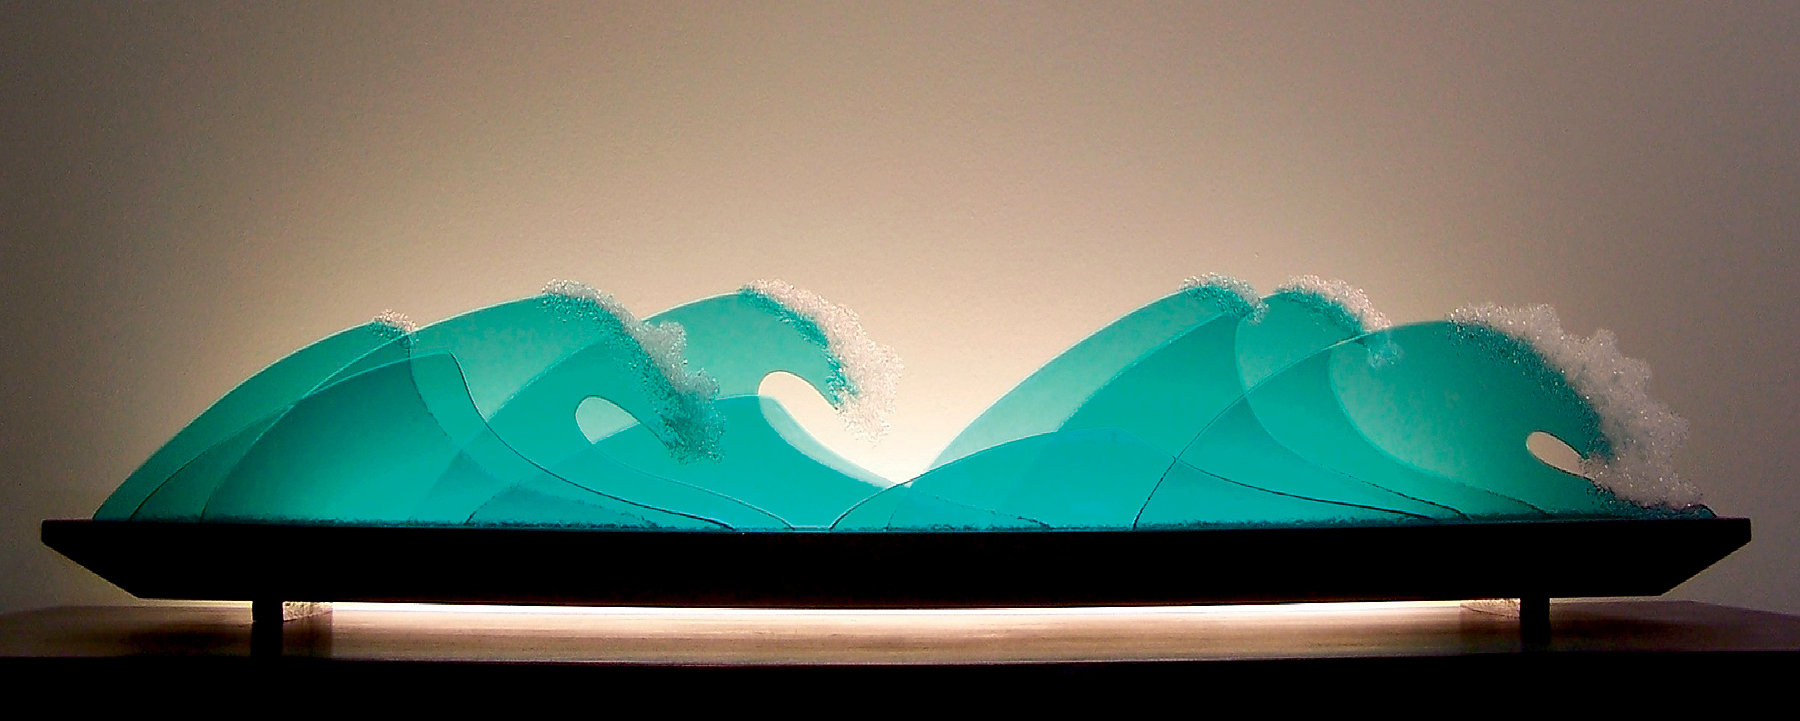
Ocean Laughter - Art Glass Sculpture - by Bernie Huebner and Lucie Boucher
Ocean Laughter by Bernie Huebner & Lucie Boucher

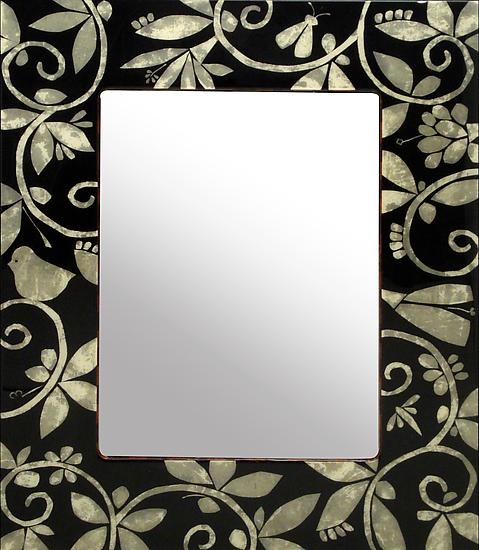
Mother of Pearl Tapestry Vanity Mirror - Mixed-Media Mirror - by Lara Moore
Mother-of-Pearl Tapestry Vanity Mirror by Lara Moore
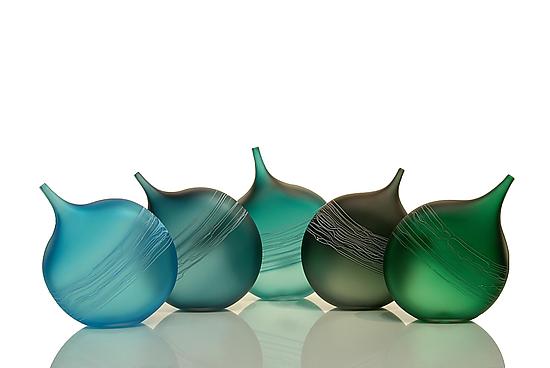
Tipped Bottle Ensemble - Art Glass Bottles - by David Royce
Tipped Bottle Ensemble by David Royce


Table Luminaire - Ceramic Table Lamp - by Muhammad Moussa
Table Luminaire by Muhammad Moussa


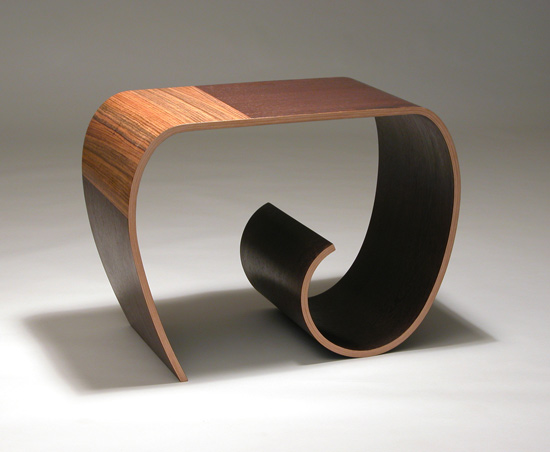
Apple Table - Wood Side Table - by Kino Guerin
Apple Table by Kino Guerin

Do any of these items compel you to be creative today?

I would love for you to leave a comment. Thank you for stopping by; please do check back often.
Lisa


Monday, August 1, 2011

Safari Nursery Design Board

I love decals. They allow an instant makeover to a room with the addition of color and interest. I recently came across a delightful safari decal on Etsy. I loved the effect of the decal with the particular color scheme chosen against a deeper color wall. I decided to create a nursery design board around the decal. I found some artwork which I thought to be perfect. I love how the colors pop (soothingly but with enough interest) against the Benjamin Moore historic color I picked. Again, I find this to be a warm, calm color. This is what I came up with. 
Safari Nursery List:
1.   Safari Jungle-Nursey decal via Etsy
2.   Count to 20 Print from Trendy Peas via Etsy
3.   Baby and Mommy Elephant Print from Trendy Peas via Etsy
4.   Sky and Clouds Light Fixture from Lamps Plus
5.   Lattice Curtain Panels from Land of Nod
6.   Vintage Owl Grey Green Playful magnetic Board from Shugabee Lane via Etsy
7.   Sophia Crib from PB Kids
8.   Harper Nursery Bedding from PB Kids
9.   Stripey Stripe Rug from Land of Nod
10. Storage console from PB Kids
11. Paper Cloud Vines Pillow from csn
12. Dream Rocker and Ottoman from PBKids
13. Banana Leaf Storage Bin from csn
14. Benjamin  Moore – Sandy Hook Gray HC-108 (color accuracy affected by color settings on computer)
I would like your opinion on this design board. What do you think of the wall color? Is it something you might consider for a nursery?

Linking up today:


Thank you for stopping by; please do check back often.
Lisa